
Organizing family photos
How to Organize Thousands of Old Family Photos Before Scanning Them
Boxes of old photographs, slides, and negatives can quickly become overwhelming. In this guide, we'll show you how to organize your family's memories before scanning them, protect fragile images from damage, and preserve important details for future generations. If the project feels too large to tackle on your own, Family Media Transfer is here to help.
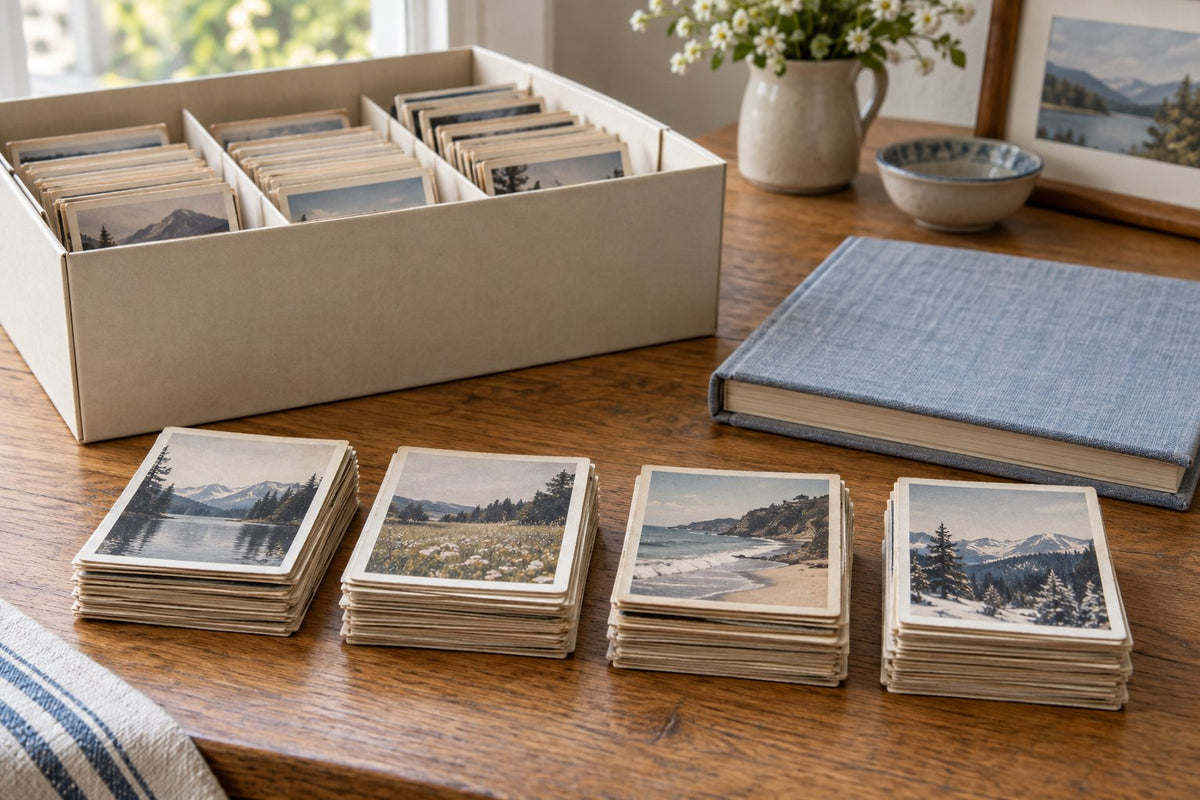
Quick answer: Start by separating prints, albums, slides and negatives, keep meaningful groups and labels together, and leave stuck or fragile photographs as they are. You do not need a perfect count or a fully organized archive to ask for an estimate.
Opening a box of old photographs can feel like opening a time capsule.
Birthdays, weddings, vacations, graduations, military service, holidays, and countless ordinary moments are suddenly brought back to life. Yet many families quickly realize that decades' worth of photographs, slides, negatives, and albums can feel overwhelming to sort through.
If you've ever looked at a closet full of boxes and thought, "I'll get to it someday," you're certainly not alone.
The good news is that you don't have to organize everything perfectly before beginning the digitization process. A few simple steps can save time, reduce stress, and help preserve your family's history for generations to come.
Step 1: Gather Everything in One Place
Start by collecting all of your photographs, slides, negatives, albums, and related materials from around your home.
Common places to check include:
- Attics
- Basements
- Closets
- Filing cabinets
- Storage totes
- Bookshelves
- Safety deposit boxes
- Old suitcases and containers
Many people are surprised by just how much material they have accumulated over the years.
Step 2: Separate Materials by Format
Once everything is in one location, create broad categories rather than trying to organize every individual image.
Separate your collection into groups such as:
- Printed photographs
- Photo albums
- Slides
- Negatives
- Newspaper clippings
- Certificates and documents
This will make the scanning process faster and ensure that every type of media is handled correctly.
Step 3: Remove Obvious Duplicates
Families often discover multiple copies of the same photographs.
Removing obvious duplicates can reduce the amount of material that needs to be scanned and make the final digital collection easier to navigate.
However, don't spend countless hours trying to find every duplicate. Slight differences in printing, cropping, notes, or markings may still make one version more valuable than another.
Step 4: Create Broad Categories
You don't need to know the exact date of every photograph.
Instead, organize your collection into larger groups, such as:
- 1940s and 1950s
- 1960s and 1970s
- 1980s and 1990s
- Family vacations
- Weddings
- Military service
- School activities
- Holidays and celebrations
Even a rough organizational system can make a tremendous difference later.
Step 5: Set Aside Damaged Photographs
Keep damaged materials in a separate group.
Look for:
- Mold
- Water damage
- Fading
- Scratches
- Torn corners
- Loose photographs
- Photographs stuck together
Avoid forcing photographs apart, as this can cause permanent damage.
Step 6: Preserve Important Information
Don't forget that the backs of photographs can be just as valuable as the images themselves.
Dates, names, locations, handwritten notes, and even processing stamps can provide valuable information for future generations.
When possible, keep these details with the corresponding photographs.
Step 7: Don't Throw Anything Away
This is one of the biggest mistakes people make.
A photograph that seems unimportant today may become one of your family's most treasured possessions years from now.
When in doubt, keep it.
What About Old Photo Albums?
Many people wonder whether they should remove photographs from their albums before scanning them.
The answer depends entirely upon the condition of the album.
In some cases, photographs can be removed safely. In other situations, preserving the entire page is the better option because it maintains the context, arrangement, handwritten notes, and history behind the photographs.
Inherited a Collection? Choose What to Digitize First
Start with the photographs your family most wants to see or share: a particular person, event or album can make a manageable first project. Keep uncertain items in a separate group instead of discarding them. Set aside anything stuck, damaged or difficult to identify for an assessment before handling it further.
For a mixed estate collection, note roughly how many boxes of photos, tapes and reels you have and the budget you want to work within. Our large collections and estates service can help you discuss priorities. A phased project should have an agreed scope and timeline rather than an assumed whole-archive deadline.
Feeling Overwhelmed? We Can Help.
Many families postpone digitizing their collections because the process simply feels too large to tackle.
The truth is that you don't need to organize everything perfectly before reaching out for help.
At Family Media Transfer, we regularly work with collections containing hundreds or even thousands of photographs, slides, negatives, and albums. We can help sort materials, organize collections, identify damaged items, preserve album pages, and create a plan that makes the entire process manageable.
Sometimes simply gathering everything into one place is enough to get started.
If the task feels overwhelming, that's perfectly understandable. That's exactly why we're here.
The Goal Isn't Perfection
The goal isn't to create a perfect archive overnight.
The goal is to preserve irreplaceable memories before time, moisture, heat, light, and everyday handling cause permanent damage.
Every photograph tells a story, and every story deserves to be preserved.
About Family Media Transfer
Family Media Transfer is a Minneapolis-based media digitization and archival preservation company specializing in VHS tapes, camcorder tapes, film reels, photographs, slides, negatives, and audio recordings. The company offers partner drop-off counters throughout the Twin Cities and mail-in service for customers nationwide. Check the current drop-off locations or mail-in options before sending your collection. Founded by longtime Minneapolis producers John Heinen and Nick Nichols, Family Media Transfer combines decades of professional production experience with modern digital delivery systems and archival workflows to help preserve aging media before deterioration becomes permanent.
Family Media Transfer serves families across the Twin Cities and nationwide. Drop off locally or mail your photographs, slides, and negatives to us, and we'll handle them carefully while preserving them in digital form for future generations.
Get an estimate for your photos, compare our scanning options and prices, or send a photo enquiry about an album or unfamiliar format. You can also call or text (612) 649-4707.
Have digital copies already? Order photo correction or restoration.